The style cascade
qplanner allows for fine grain adjustments of styles.
To help make things less laborious styles will cascade down from broader styles, to the final elements.
Adjusting a style further down the order will effect fewer page elements.
Styling a day
Lets explore changing the colour of a day, and it's stages.
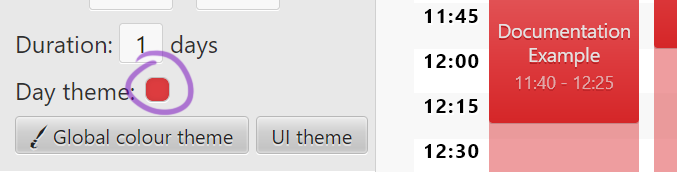
The Day theme section shows the background colour of each day, ordered from the first to last day of the event.
By default the colour for each day runs through the rainbow, changing per day. Red, orange, yellow, green, etc.
When you click one of the day's colour you'll see the window displayed below:
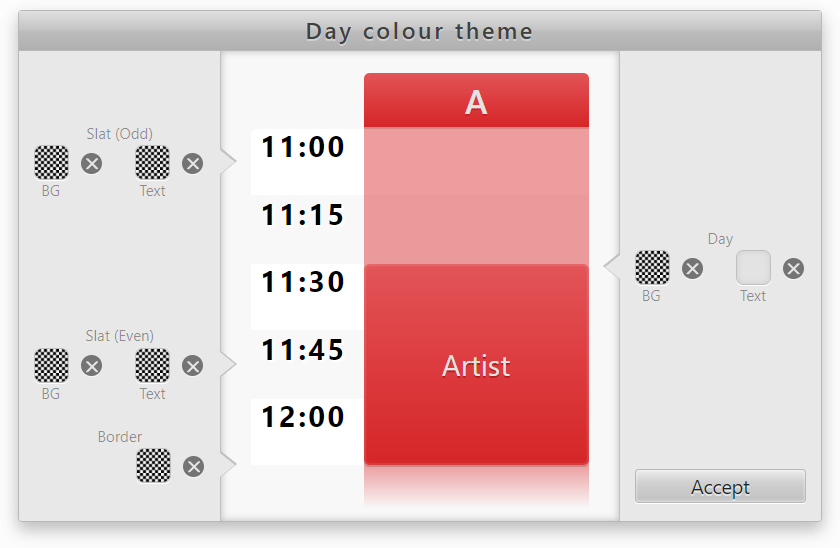
You'll see most of the colours here have a chequerboard background, which means they are blank, or transparent.
In this situation any default, or colour from from a parent setting, will be used instead. Which is red in this case.
The circled X button will clear a colour, setting it to blank.
In this example I have set the text colour to something light, too.
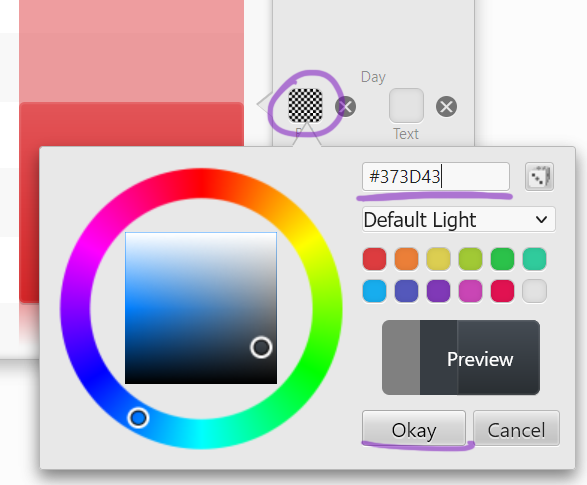
Now lets set a background colour. Start by clicking the background colour input, circled in purple.
Then pick a colour, or enter the hexadecimal representation of a colour in the text input.
Once you're happy press Okay. If you're not pleased with any changes you've made click Cancel or outside of the colour picker.
You should now see the day has changed to your desired colour.
It looks great, nice choice!
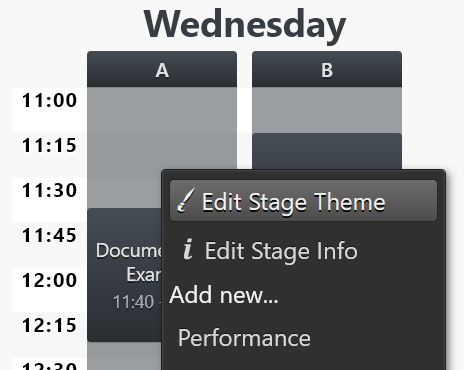
But lets go further, and start changing the colour of the individual stages.
Right click on a stage, and in the context menu that appears, click Edit Stage Theme.
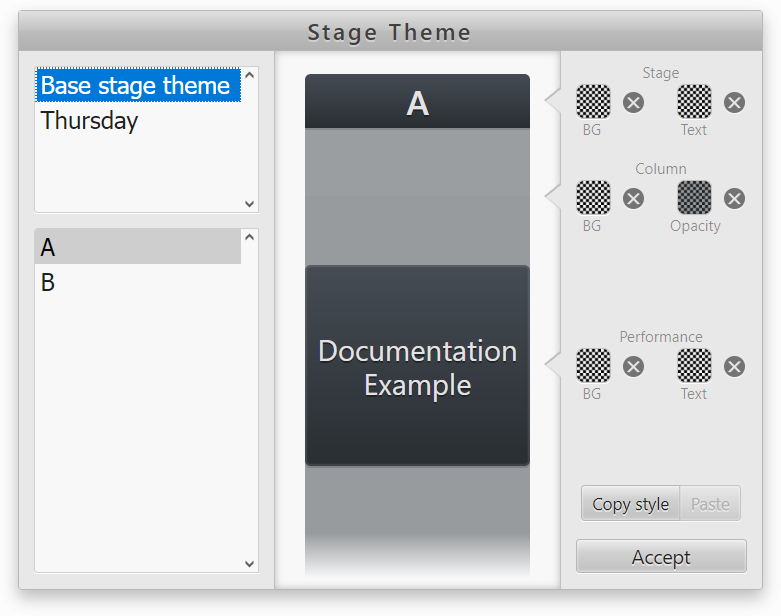
The left side of the window has two lists.
The top lists every day of the event, and has the option Base stage theme.
Picking an option from this list will show, and apply, any style changes to only that day, or every day if you pick Base stage theme.
The other list has every stage for the event. You can only select a single stage at a time.
Your selection from both lists combine so that you're editing the theme for a particular stage across either every event day, or a specific day.
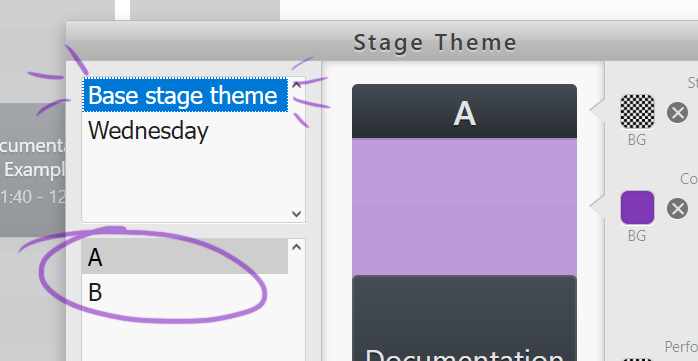
So if we select Base stage theme, and stage A, and give the Column a purple background it will be purple across every day of the event.
You can also select stage B, and make it purple too if you'd like.
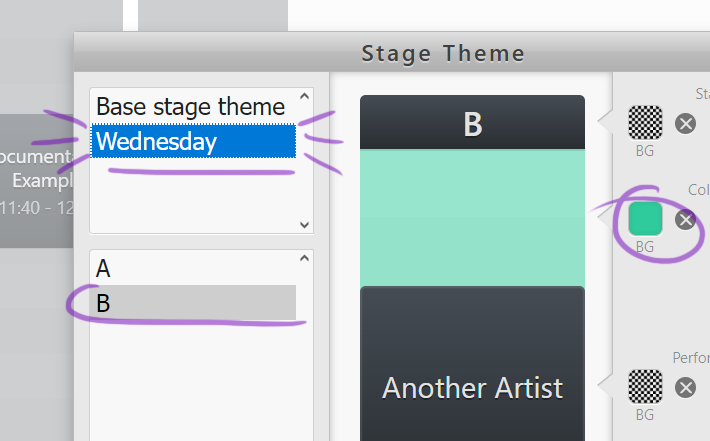
Now we've selected Wednesday, and stage B.
The preview will start off looking purple, if you set the like that on the step above. Otherwise it'll be the same colour as the day.
So now set the background colour to something nice, I've chosen teal.
Then accept your changes.

Here's the finished result.
The dark colour of the day is used by the day name, stage title, and performances.
The colour of the Column in the Base stage theme, purple, is shown on stage A, and stage B is shown using teal.
Visualised
Here's a visualisation of the cascade, using additional stages, and styling.
We start with the day theme being applied to every stage, and end up with a colourful mix.